The Ultimate Guide To Wall Preparation Before Painting
Painting a room seems like a straightforward task, but achieving a flawless finish requires more than just applying a coat of paint. Proper wall preparation is the unsung hero of successful painting projects, ensuring that your walls look flawless and the paint job lasts for years to come.
Significance Of Wall Preparation: Protecting Your Investment In Premium Interior Paints:
A wall that is properly prepared for painting not only results in a beautiful finish but also enhances your home’s charm and value. Investing in high-quality durable wall paints can transform your home, but the effectiveness of these paints largely depends on the preparation of the walls before application. Proper pre-painting wall preparation is crucial to ensure that your investment in premium paints is not wasted.
The primary function of wall preparation is to ensure that the paint adheres properly to the surface. Without adequate preparation, even the best quality paints can fail to bond with the wall, leading to peeling and cracking. By thoroughly cleaning, repairing, and priming the walls, you can create a smooth, clean surface that allows the paint to adhere effectively. This is particularly important when using high-quality durable wall paints, which are designed to provide long-lasting results. If you are the one who prioritises durability and quality, you can opt for Berger paints for interior walls, because when you pick a Berger paint, you’re investing in a product known for its superior quality and performance. You can buy Berger paints online in Singapore directly from their website https://bergerpaints.com.sg/products/store/. These paints are formulated to deliver a flawless finish, but this can only be achieved with proper prep work. Proper wall preparation helps enhance the durability of the paint job by allowing the paint to form a strong bond that increases its resistance to wear and tear. This means that your interior paints will maintain their vibrant look and protective qualities for a longer period, reducing the need for frequent repaints and touch-ups. Furthermore, preparing your walls is essential to prevent mould and mildew, as thorough cleaning and priming eliminate existing spores and create a moisture-resistant surface.
Tools & Materials Checklist:
-
Must-Have Tools
- Sandpaper (Various Grits): Start with coarse grit (60-80) for heavy sanding and switch to finer grit (120-220) for that smooth finish.
- Putty Knife: Perfect for applying spackle or joint compound to fill holes and cracks. A flexible blade suits small repairs, while a stiff one is great for scraping.
- Scraper: Essential for peeling off loose paint or leftover wallpaper.
- Utility Knife: Handy for cutting painter’s tape and trimming extra caulk or wallpaper.
-
Repair Supplies
- Spackle: Ideal for filling small holes and minor cracks, and lightweight options dry quickly for fast fixes.
- Joint Compound: Great for bigger repairs and seams, especially on drywall.
- Primer: A must for sealing repairs, preventing stains, and promoting even paint application.
- Caulk: Use it to seal gaps at trim, corners, or baseboards, especially the paintable kind for walls and mouldings.
-
Safety Gear
- Mask: Protect yourself from inhaling dust and fumes during sanding and painting. A respirator might be needed for tougher jobs.
- Gloves: Keep your hands safe from chemicals and messes. Opt for latex-free if allergies are a concern.
- Drop Cloths: Use canvas or plastic sheets to shield floors and furniture from dust and paint splatters.
- Painter’s Tape: Ensure precision by masking edges and trim, giving you clean lines with every paint job.
Step-By-Step Guide To Wall Preparation For DIY Painters:
-
Prepare the Surfaces
Start with cleaning the walls. It is essential, as dust and grease can ruin your paint job. A simple mix of warm water and mild detergent will do the trick, and for those kitchen areas, a degreaser might be necessary. Wipe the walls thoroughly, focusing on spots that see a lot of action, like near light switches or cooking zones.
-
Fix Any Flaws
Take a close look at the walls for dents, holes, or any peeling paint and mark these trouble spots with a pencil. For minor issues, spackle works beautifully, while joint compound is your go-to for larger imperfections. Don’t forget to address any mould with a safe cleaning solution, ensuring the area is well-ventilated during treatment.
-
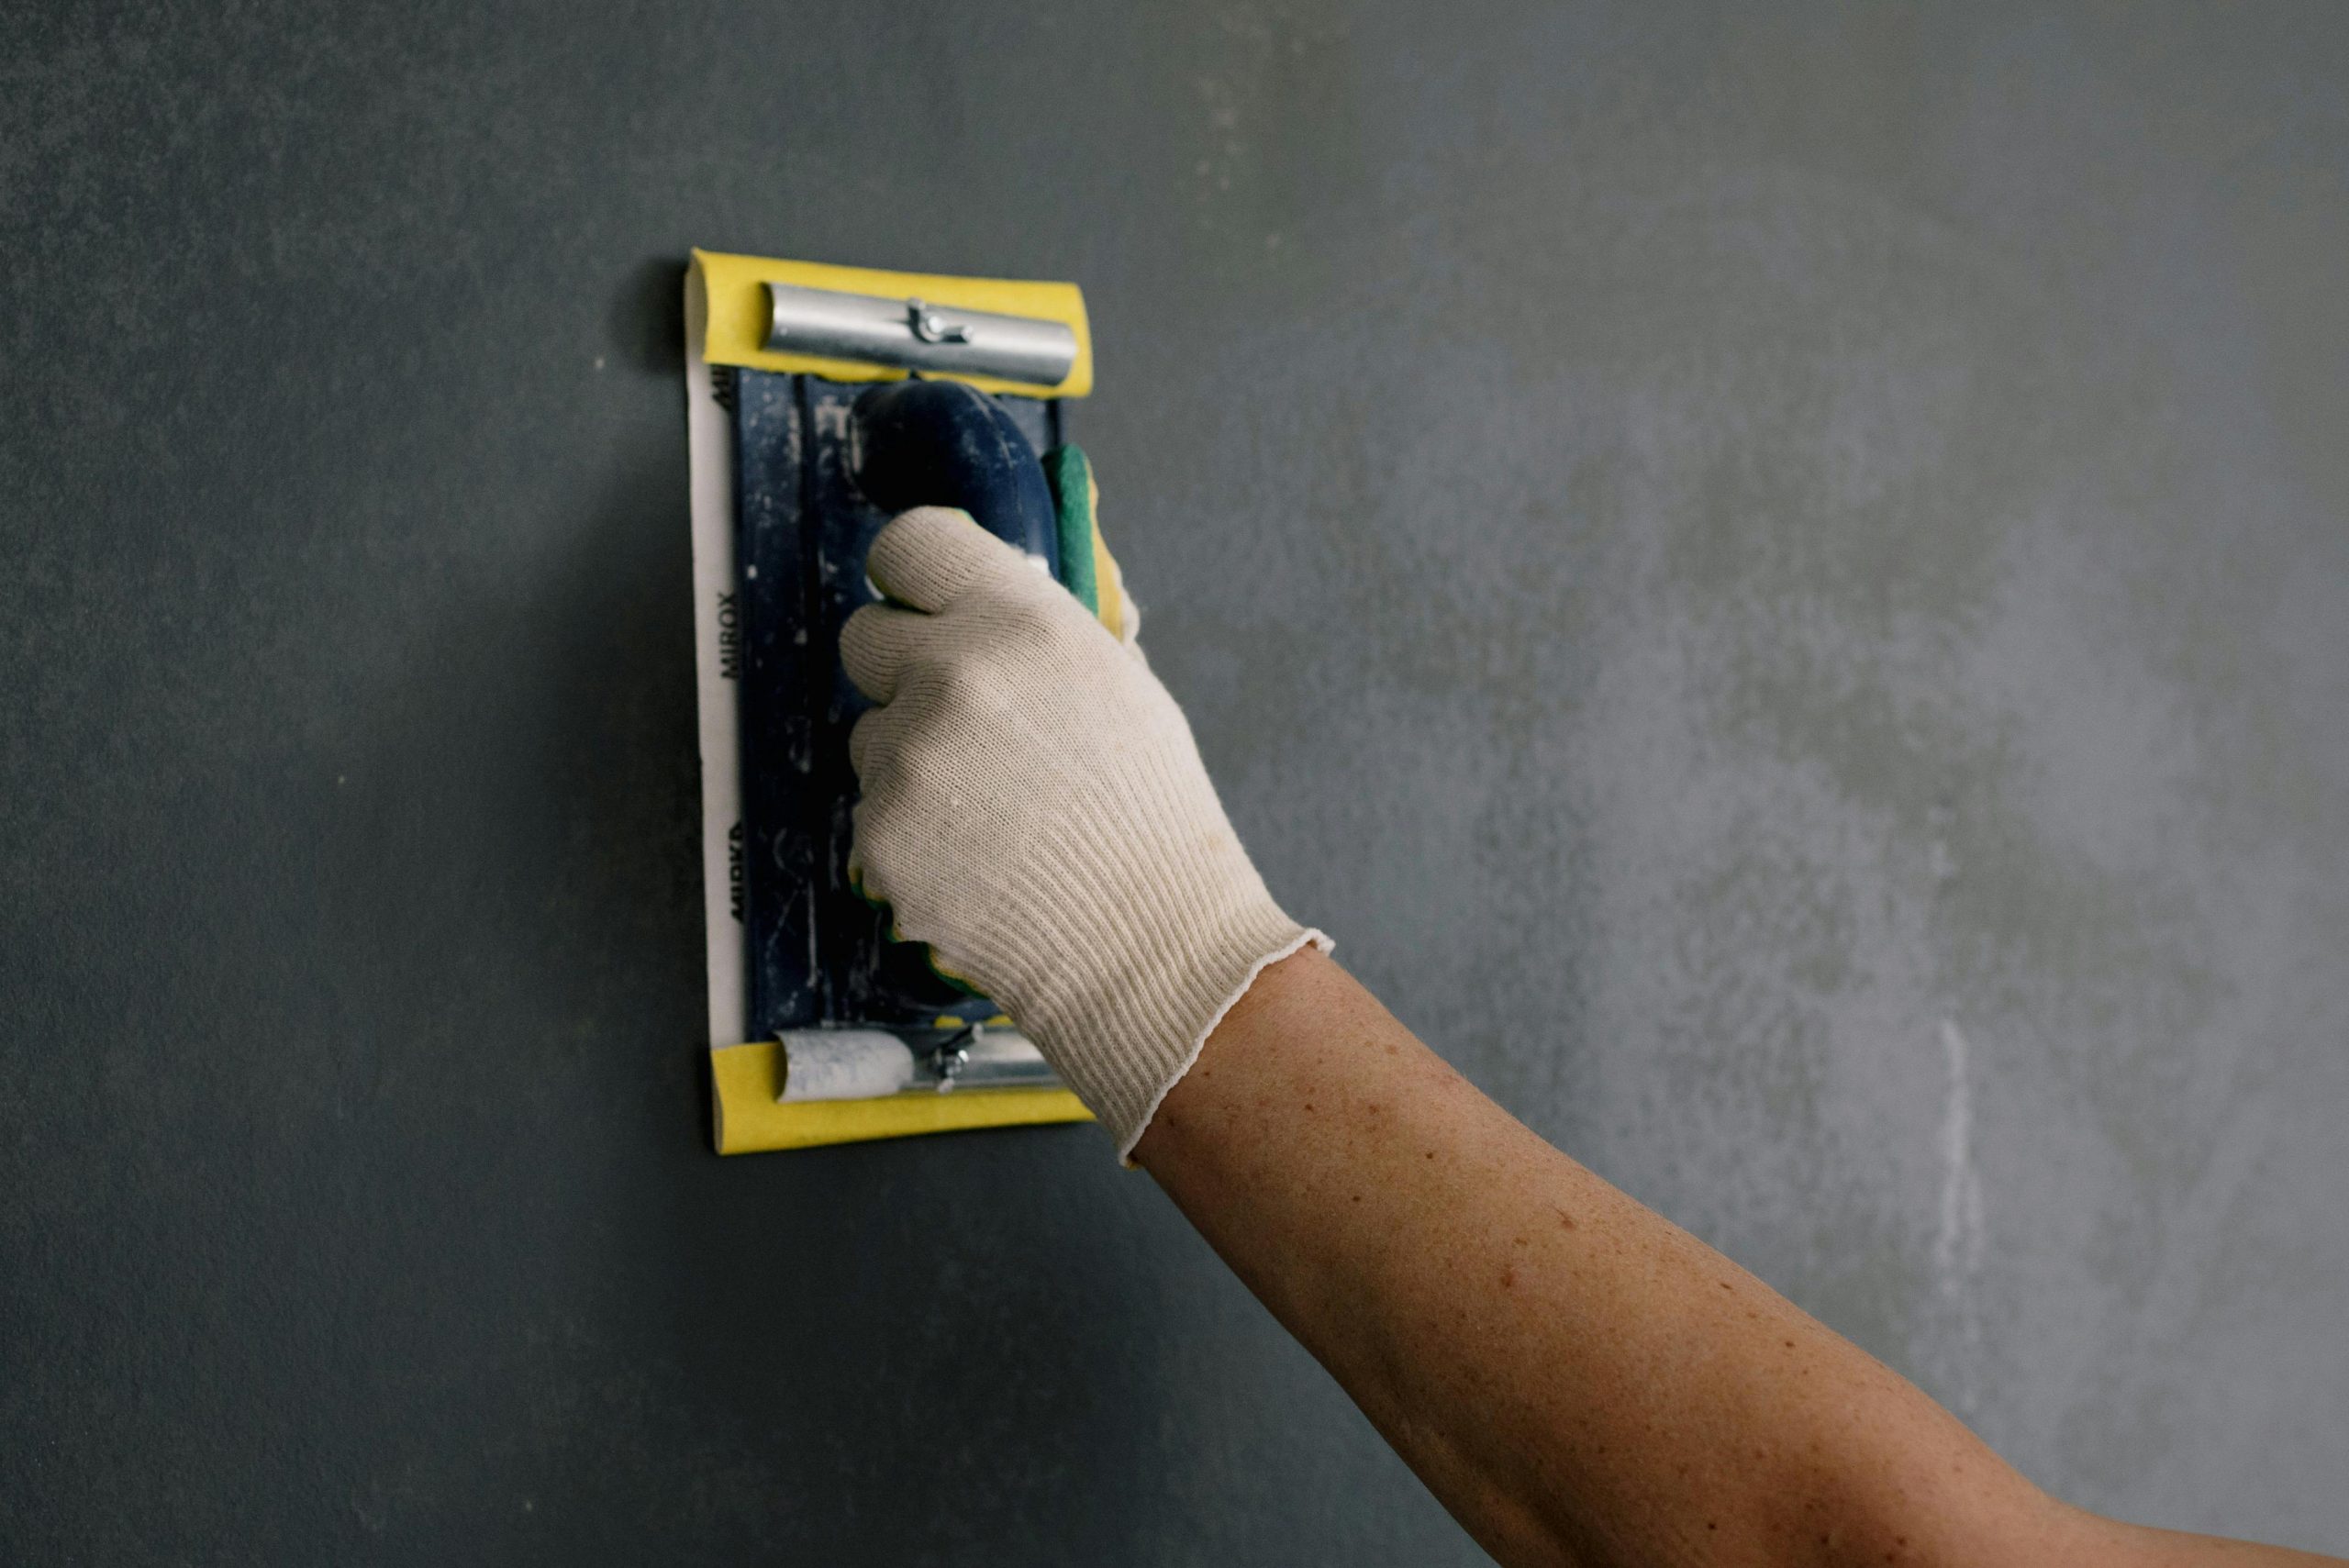
Smooth the Walls
Sanding is crucial for achieving a polished finish, as it evens out rough spots and helps your paint adhere better. Use the right sandpaper grit depending on your needs; coarser for rough patches, medium for smoothing, and fine for the final touch. Just remember, gentle pressure is key to avoiding damage to the wall.
-
Apply Primer
A good primer will seal the wall and cover any lingering stains, setting the stage for a beautiful paint job. Choose the right type for your surface. Berger Paints Singapore presents a wide range of top-notch primers tailored to your needs, including the versatile Berger water-based universal primer that works seamlessly on various surfaces. For those looking to enhance their painting projects, Berger Plastaseal, an acrylic coating designed for use as a sealer coat, offers a strong foundation for textured or smooth coatings, ensuring durability and resistance against alkali and carbonation. When applying, use a roller for large sections and a brush for tricky spots, ensuring a neat and even coat.
Special Considerations For Different Wall Types:
-
Drywall Issues:
You might encounter dents, nail pops, and seams between panels when working with drywall. For nail pops, simply tap them back in place or replace them with screws, then cover the area with joint compound. To fix dents and holes, use spackle for small imperfections and layer joint compound for larger ones, sanding between each coat for a smooth finish.
-
Plaster Problems:
Cracks, flaking, and uneven surfaces are common in plasterwork. Start by widening any hairline cracks with a utility knife, then fill them with patching plaster or joint compound for a solid repair. If you see flaking, scrape away the loose material and rebuild the surface with patching plaster, ensuring a smooth and even area when dry.
-
Handling Previously Painted Walls:
If your walls have glossy or uneven finishes, peeling paint, or tough stains, you’ll need to prepare them carefully. Lightly sand glossy areas with 120-grit sandpaper to enhance paint adhesion, and for peeling spots, scrape away the loose paint and feather the edges for a seamless repair. To tackle stains, apply a stain-blocking primer for a clean slate before painting.
-
Preparing New Walls:
New drywall or plaster surfaces often present challenges like porosity and visible seams. Use a drywall primer or sealer to create an even base and prevent uneven paint absorption. For fresh plaster, let it cure for 30 days, then apply a primer to keep the paint from soaking in too much, ensuring a beautiful finish when you’re done.
Summary:
Preparing your walls before painting is essential for achieving a stunning finish and ensuring your investment in quality paints pays off. Thorough cleaning, repairing, and priming create the perfect surface for paint adhesion, enhancing durability and reducing the need for frequent touch-ups. Don’t overlook this crucial step, as it also helps prevent mould growth, setting the stage for lasting beauty in your home.